By: Otaiba Ahsan
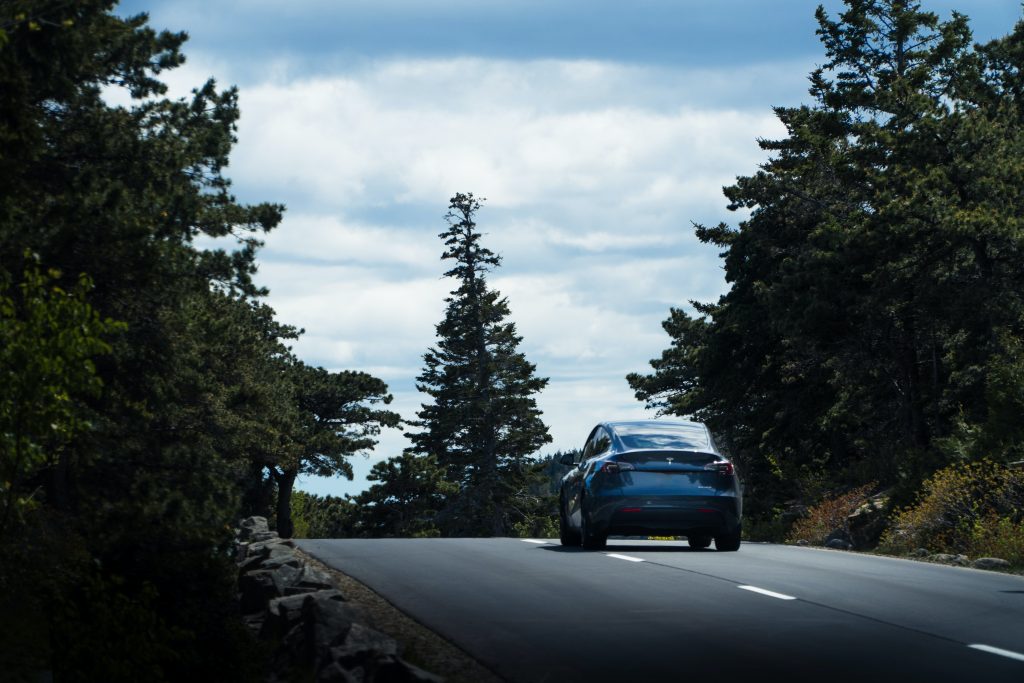
Tesla has created an incredible lineup of electric vehicles (EVs) that are known for their software, minimal design, and performance. However, a pleasant surprise for me when I got my Model 3 was how personalized you can make the experience for all the regular drivers of your car. This is accomplished with Driver Profiles. Continue reading for steps on how to add a new driver profile to your Tesla Model 3 or Model Y.
What are Driver Profiles?
Most drivers I know like to configure their seat, side mirrors and steering wheel in a certain way when they’re on the road. If you’re in a household with multiple drivers sharing the same vehicle, it can be annoying having to switch all those things each time a different person takes the wheel.
For example, in my household, there are some tall people, and some… not so tall people. As a result, there was a constant need to manually adjust car settings like seat and steering wheel placement each time there was a different driver. Once we got a Tesla, we were pleased to find a solution for these situations with driver profiles.
By creating a profile, you can set exactly where you want your seat, steering wheel, and side mirrors. It also saves your navigation, temperature, lights, and display settings as well as your Autopilot and driving preferences. This helps create the ultimate personalized experience for all Tesla drivers.
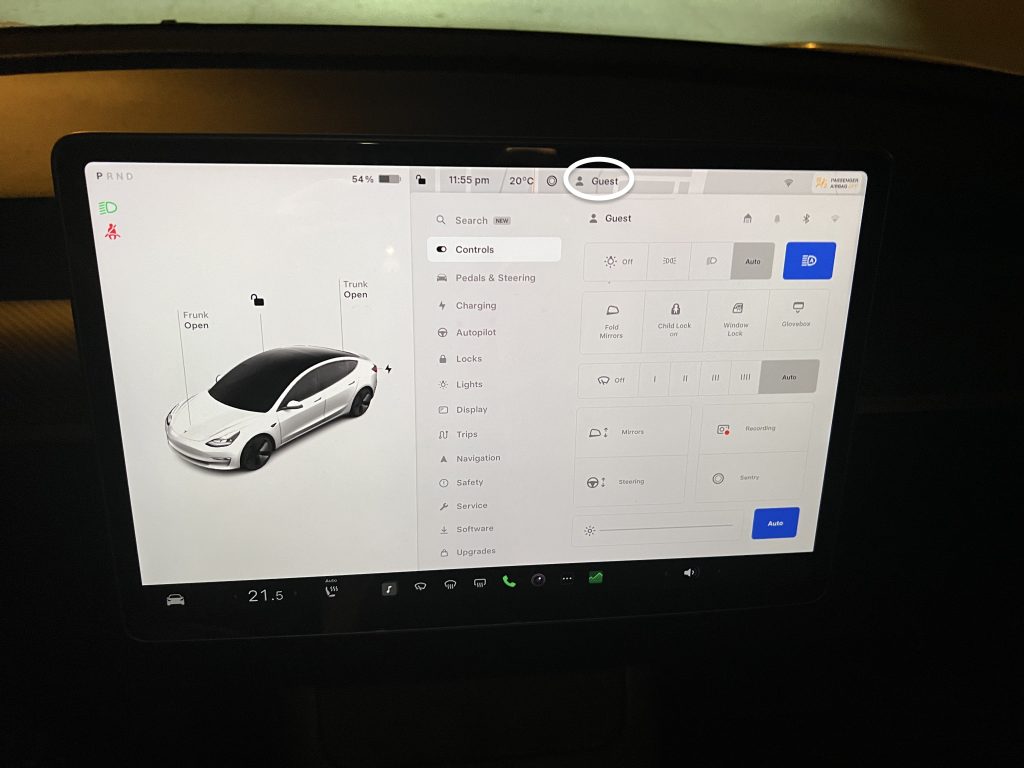
NOTE: You can link specific driver profiles to certain keys. For example, if you and another person both have a phone key for a Tesla, you can link the profiles to individual keys. That will ensure that your car automatically selects the correct driver profile when you enter. To link a key, make sure the desired profile is being used, then touch Controls > Locks > Keys and toggle the driver icon to link or delete a key for each one.
Creating a New Driver Profile
Adding a new profile is simple. Start by touching the driver profile icon at the top of the screen. Next, tap Driver Profile Settings > Add New Driver, then type the name and hit Create Profile.
Follow the onscreen instructions, it’ll ask you to adjust the mirrors, steering wheel, and your seat. Once you’re done, hit Save and you’re good to go. If you configure other settings like Autopilot, temperature, and more, it’ll be linked to the profile.
NOTE: If you need extra space when getting in and out of your Tesla, check the Use Easy Entry box. This adjusts the steering wheel and driver’s seat to make it easy to enter and exit your car.
Managing and Deleting Driver Profiles
You can edit existing driver profiles anytime by tapping the driver profile icon and then tapping on the one you’d like to change. Also, profiles can be deleted in the same view.
TIP: If changes are made to a profile, the touchscreen will prompt you to Save the new position or Restore to bring back the old settings.
The Bottom Line
The steps on how to add a new driver profile to your Tesla Model 3 or Model Y are simple. Touch the driver profile icon at the top of the screen, tap Driver Profile Settings > Add New Driver and then hit Create Profile. Once created, configure your settings, and tap Save. Make sure to link individual keys to each profile for the most personalized experience.