By: Otaiba Ahsan
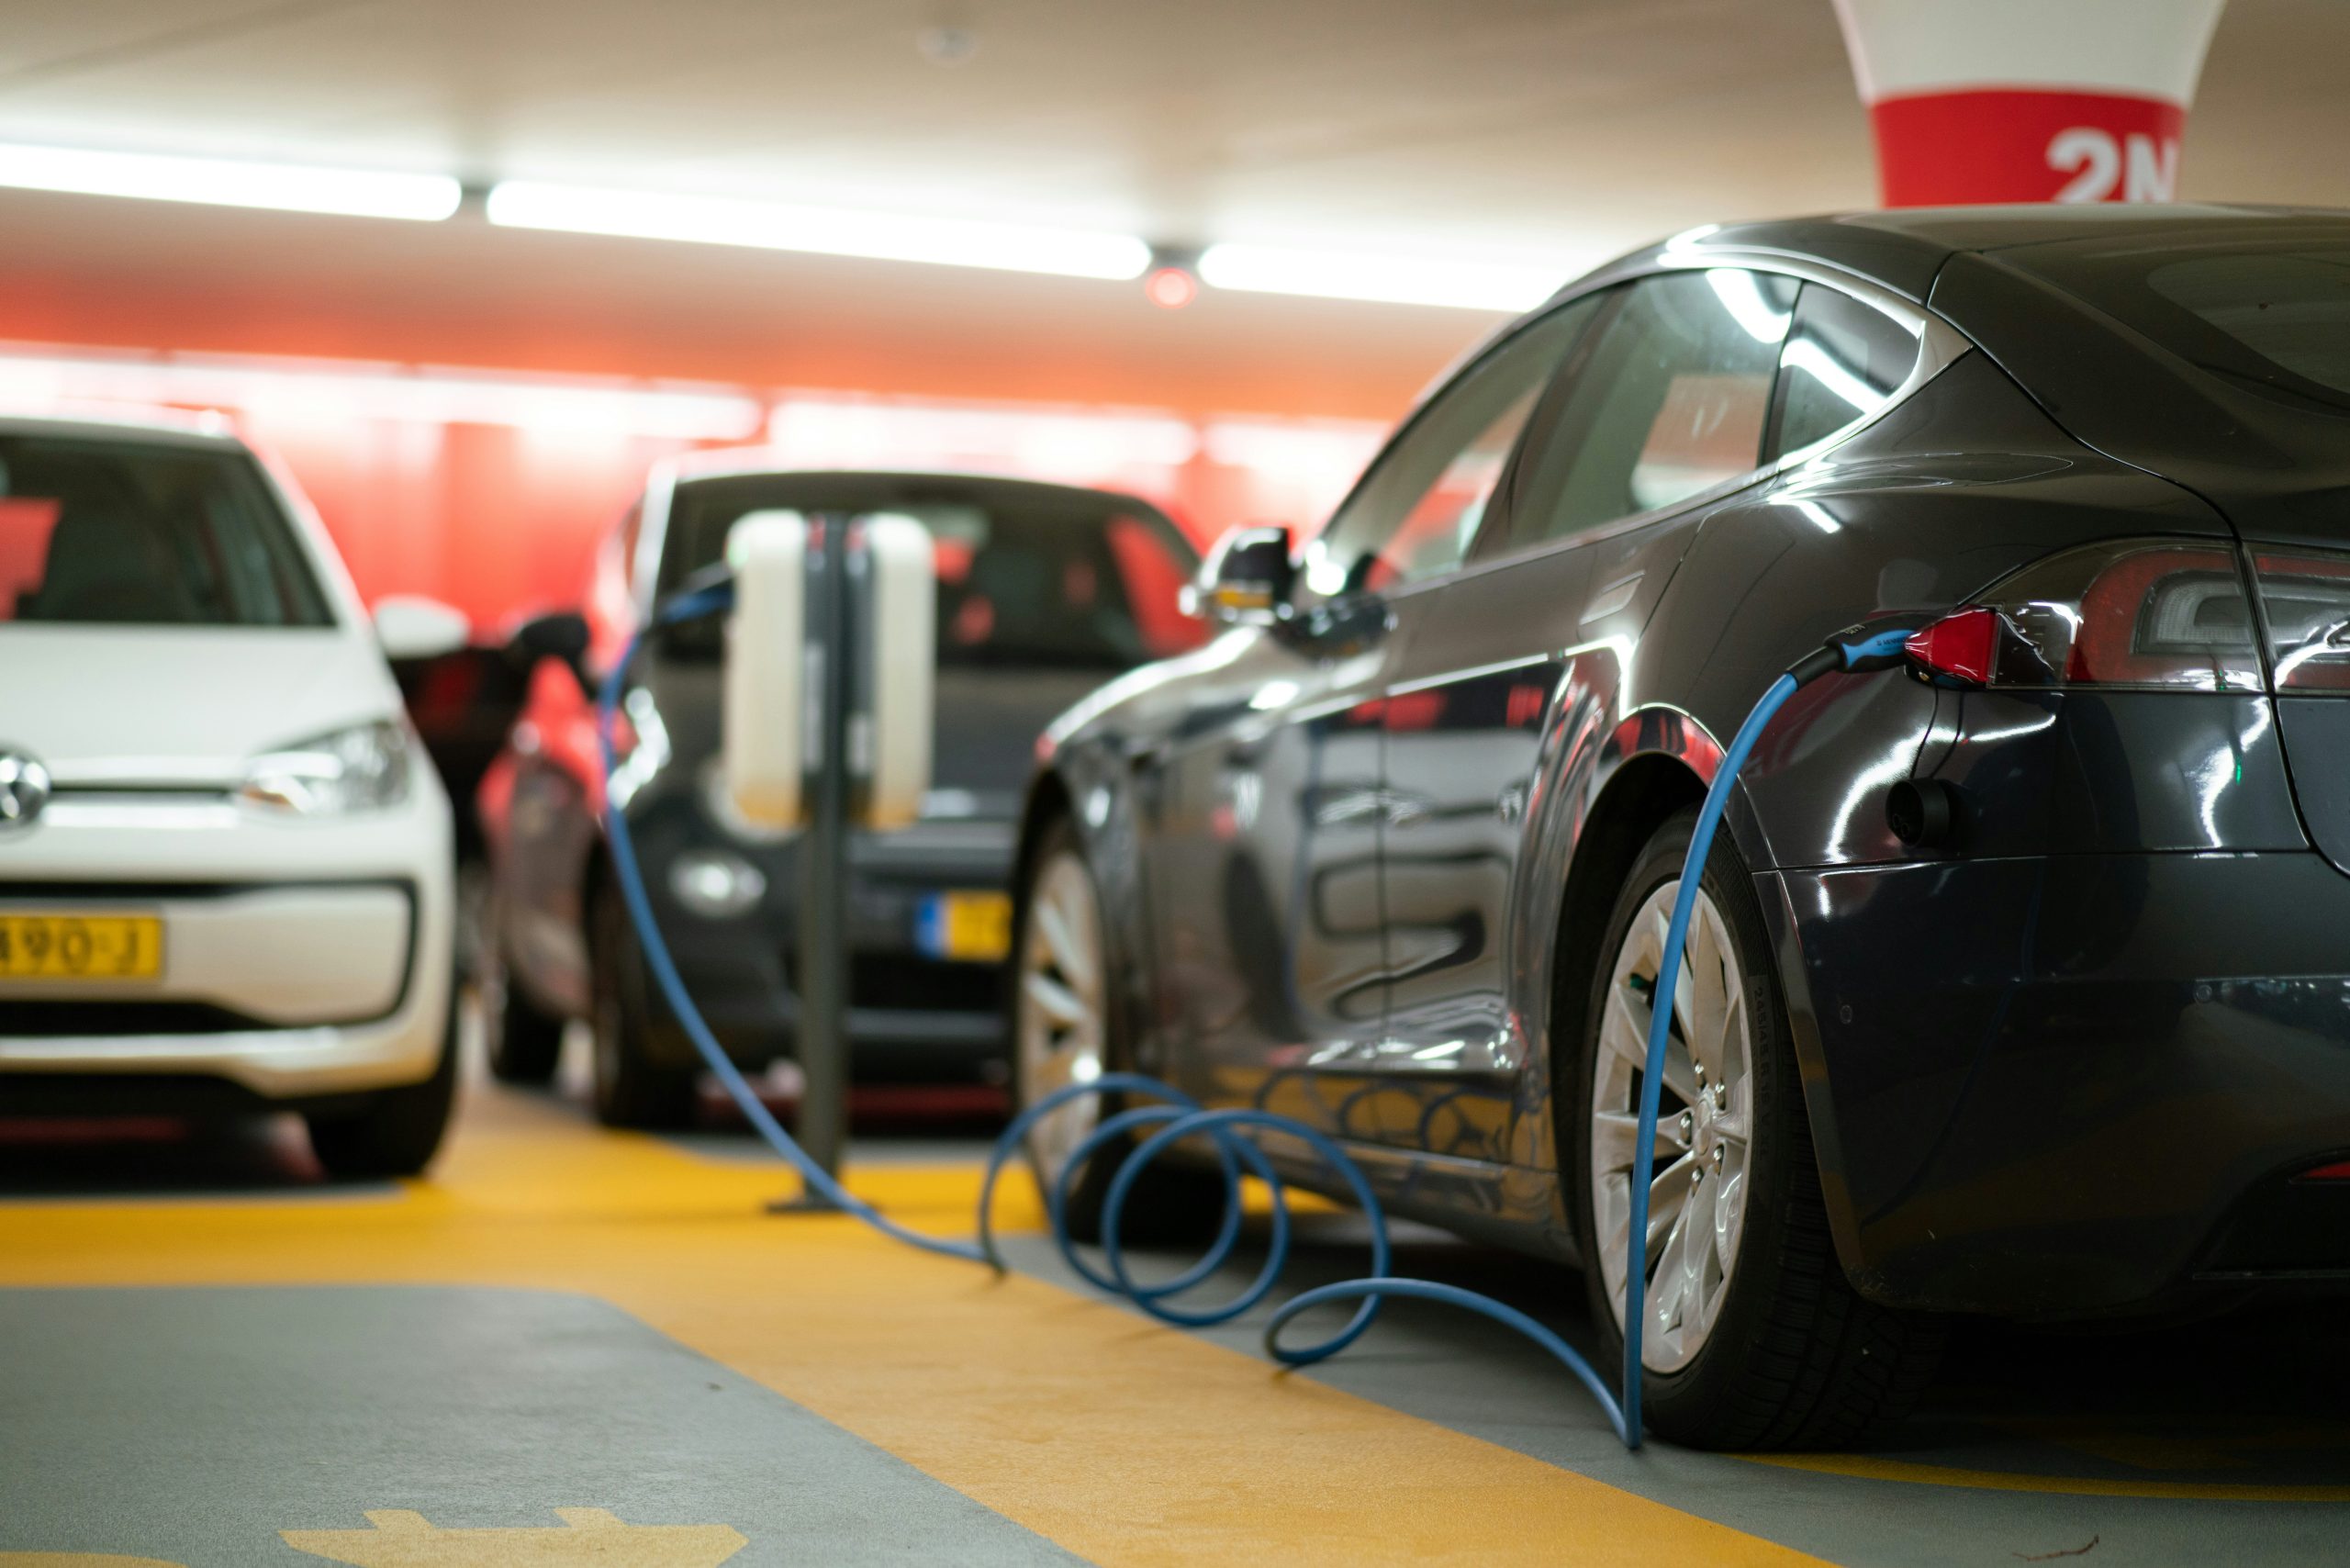
Having access to the vast network of Superchargers is a huge advantage for Tesla owners everywhere. It opens the door for long drives such as road trips, something a lot of other electric vehicle (EV) owners struggle with, as they rely on third-party chargers. While Supercharging is usually the best choice, you may come across situations or opportunities to refuel at these third-party chargers, often referred to as Destination Chargers. Continue reading for steps on how to charge your Tesla at a Destination Charger.
Common Charger Types
Tesla vehicles are currently equipped with the North American Charging Standard (NACS) ports, and all Superchargers have the corresponding cable to plug into the car. When you reach a Supercharging stall, it’s a simple plug-and-play and you’re on your way after 10-30 minutes.
Destination Chargers on the other hand can have different types of cables that aren’t compatible with the NACS port. The two most common ones are:
- J1772: This type of cable is typically found at level 2 chargers, which can be compared to the same speed as your charge at home.
- CCS: The CCS cable is widely used for level 3 chargers for cars with CCS ports. Like NACS, it’s quite popular and you see it in many EVs.
DID YOU KNOW: In an effort to take advantage of Tesla’s already established Supercharging network, many automakers are now beginning to or have plans to put the NACS port on their vehicles. This opens the ability for non-Tesla owners to charge at Superchargers with ease and is a great revenue opportunity for the company. See the complete list of automakers that are committed to making the change.
Getting the Right Adapter
Now that we’ve reviewed the different charging port types, you’ll need an adapter to be able to charge at these destination chargers. Here’s where you can get them and how to use them:
- J1772: You can purchase the SAE J1772 Charging Adapter directly from Tesla for $70. Once you’re at a charger with this type of cable, you can simply slot this adapter over the top and then you’ll be able to plug it into the NACS port to begin charging.
- CCS: You can grab a CCS Combo 1 Adapter straight from the Tesla site for the steep price of $345. Similarly, you can attach the adapter right over the CCS charging cable and then plug it into your car.
How to Find Reliable Chargers
You’re now an expert on the what, as well as the how, and the final critical question is where? My personal recommendation is to download an app called PlugShare. It’s a great tool where you can search for destination chargers around you, or input a destination and have it show what chargers are on the way.
The app indicates what level of charging is at any stall, the type of cable, as well as whether it’s currently in working condition or not. This is a one-stop shop to see where all the destination chargers you need are.
The Bottom Line
The steps on how to charge your Tesla at a destination charger are simple. The first step is to determine what type of charger it is, then you can use one of the two adapters mentioned above. Ensure that the vehicle is charging, then be on your way.
