By: Otaiba Ahsan
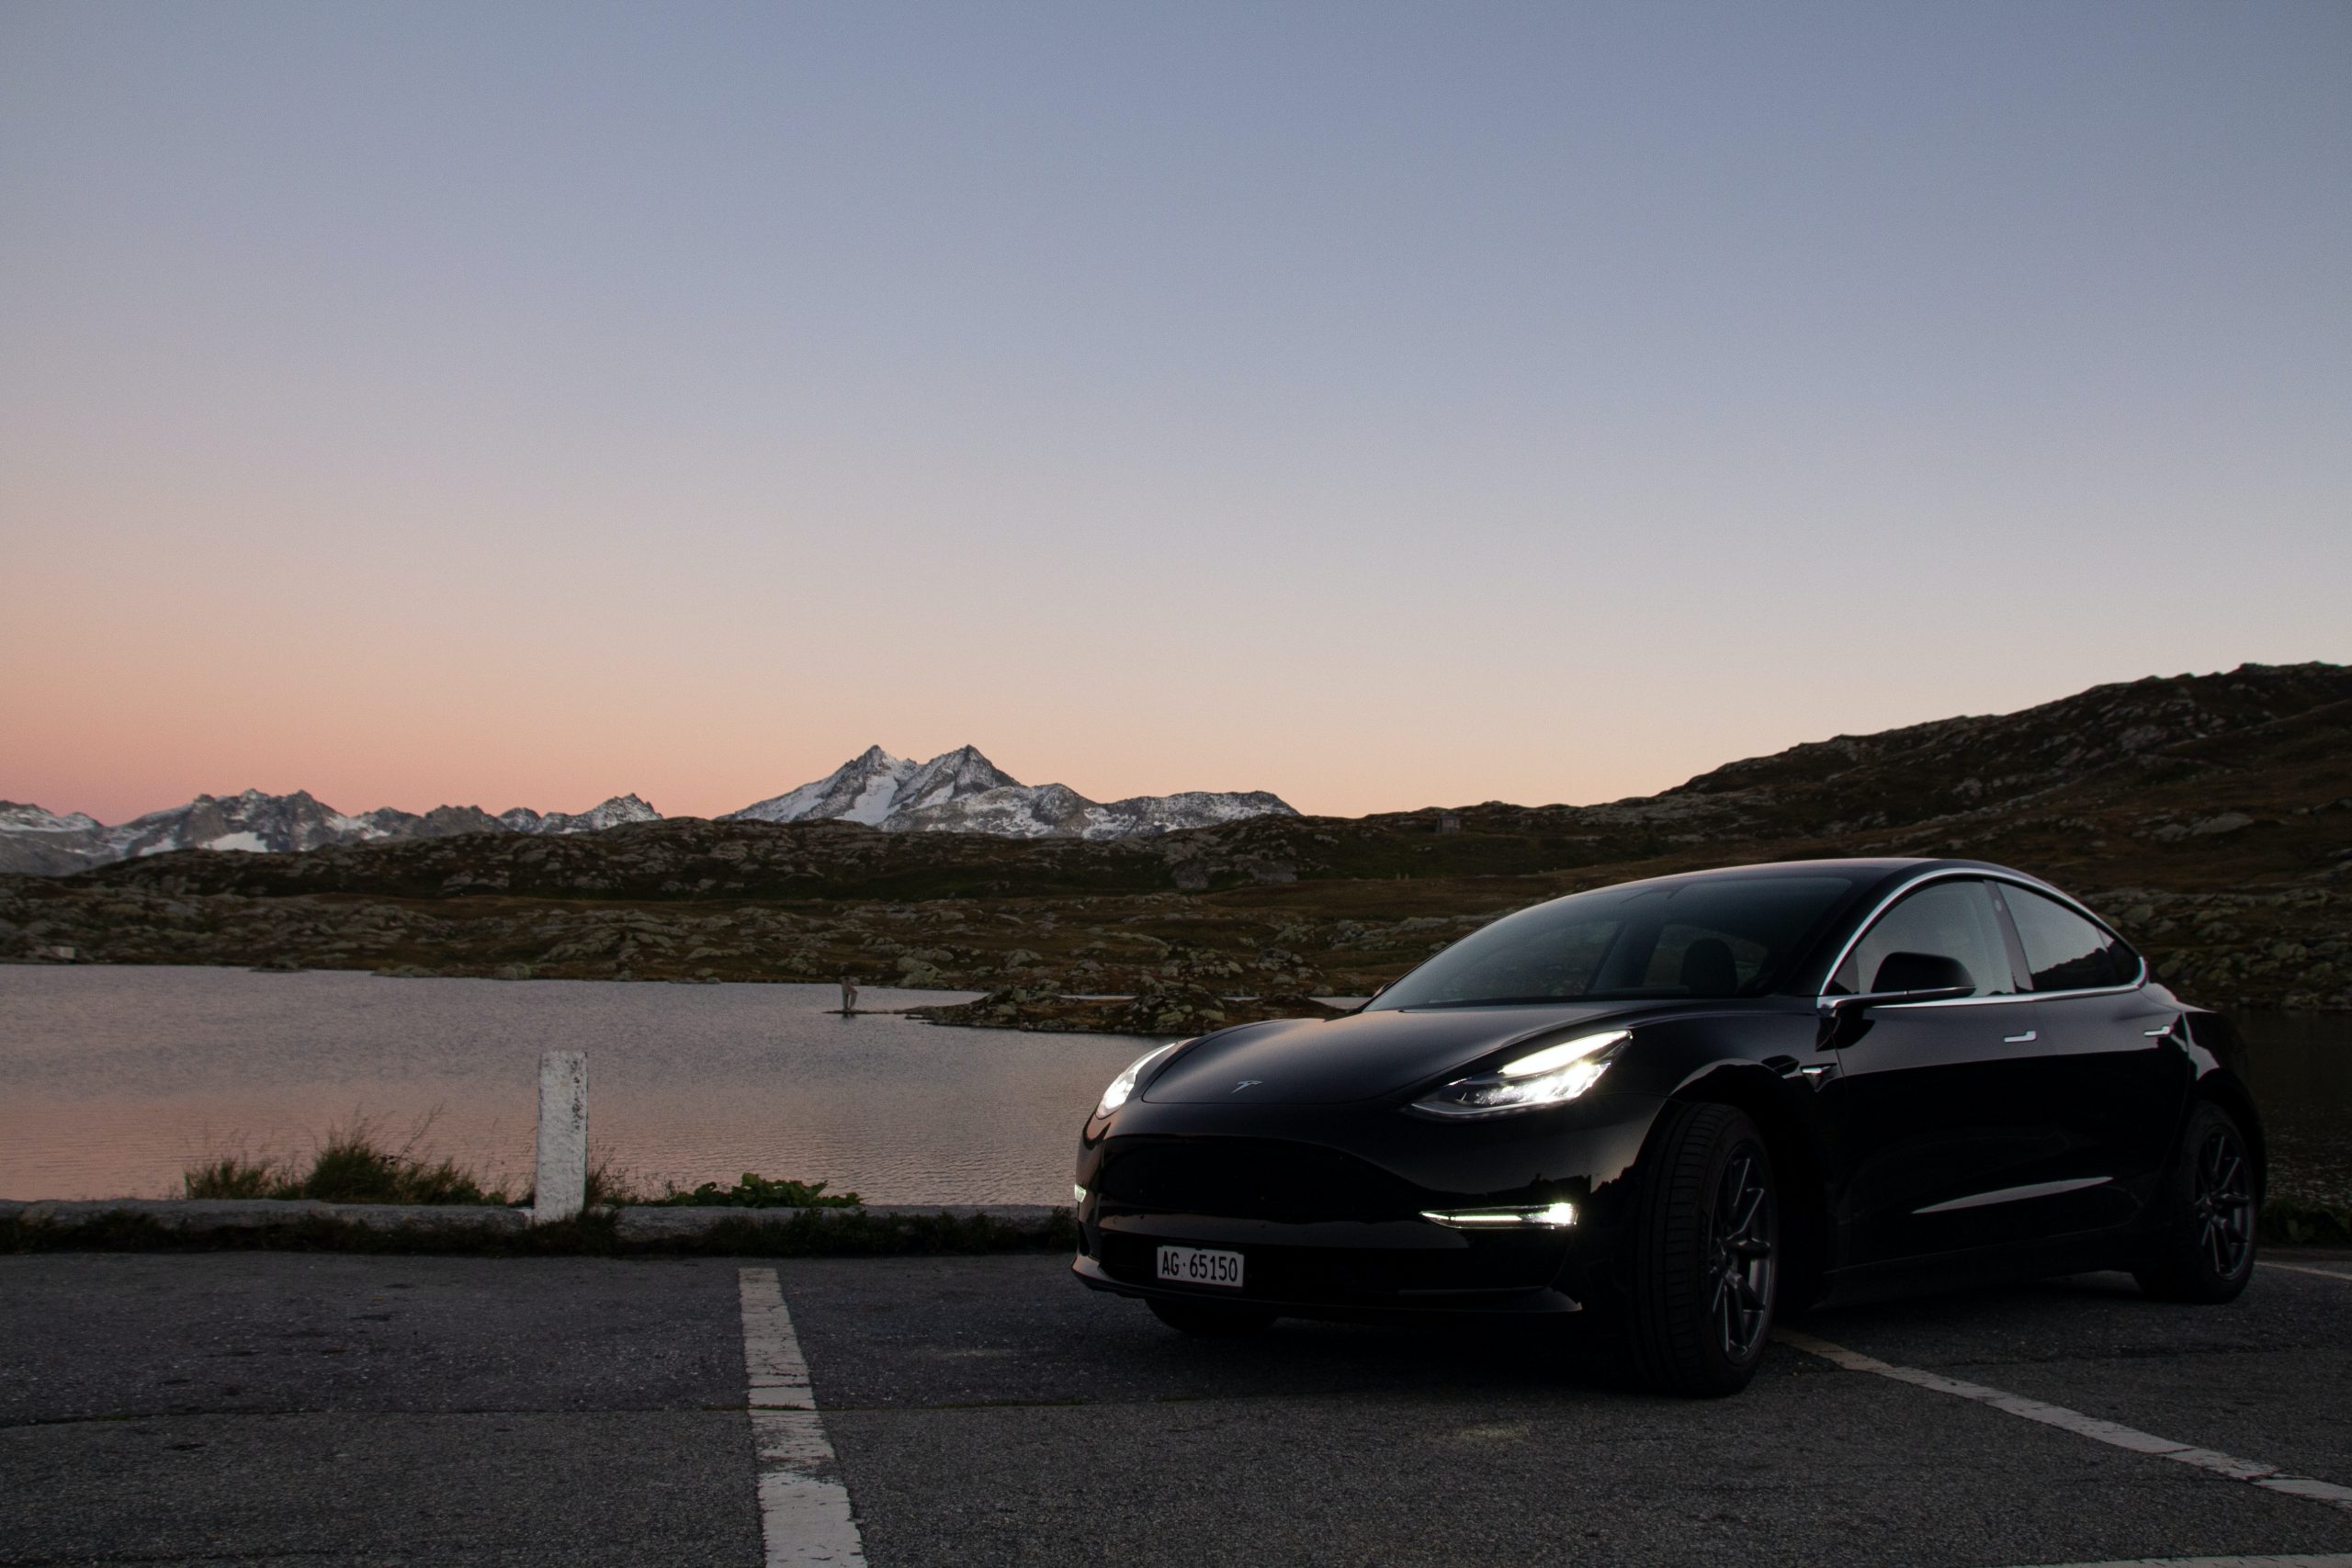
Tesla vehicles are known for their amazing software and performance, but also for their quirky and fun features such as the ones found in the Toybox view. While it can be humorous to play farting noises or turn on romance mode, one of the more popular choices is the Light Show. Continue reading for steps on how to do the Tesla Light Show.
How to Start the Light Show
Accessing this feature is simple. When your car is parked, tap the app launcher at the bottom of the touchscreen, also known as the three dots, then hit Toybox. Once you’re in, touch Light Show > Start the Show and then you’ll see a message on-screen. You can adjust the volume of the sound that will be played from your car’s external speaker, and then once you exit the vehicle and close all doors the show will begin.
TIP: For the best Light Show experience, it’s ideal if it’s done in a darker environment and if the lights can shine onto a vertical surface like a wall. This is because the lights will be more prominent in the dark, and viewers will be able to get the full experience, such as when the TESLA letters are displayed.
How to Load a Custom Song for the Light Show
Currently, Tesla only provides one or two song options for the show depending on where you are. However, in a few short steps you can get a custom song for the Light Show:
- Download a Song: There is a useful website that was created for Tesla Light Show Sharing that you can visit. Once there, choose one that you would like and download it.
- Prepare USB Drive: Grab a USB drive separate from the one you use for dashcam and Sentry Mode footage, and then format it as exFAT or FAT32 on a Windows PC or Mac. See our guide on formatting USB Drives. It’s a simple process that shouldn’t take too long.
- Populate The USB Drive: Next, create a root folder named LightShow. When you download a custom show, there should be two files, one named lightshow.fseq and the other called lightshow.wav (or lightshow.mp3). Place both into the root folder you created.
- Plug in USB Drive: Lastly, plug your formatted USB drive with the two files in the root folder into the port that’s in the glove compartment area.
After you’ve successfully completed all the steps above, use the same instructions to start the Light Show. When the popup window appears, it’ll show a title that says Custom Light Show. If it only says Light Show, that means it’s using the stock song and it’s not reading the USB drive correctly for some reason. All that’s left to do is to sit back, relax, and enjoy the show!
The Bottom Line
The steps on how to do the Tesla Light Show are easy. When in your car, open the Toybox and then tap Lights Show > Start the Show. A popup message will appear where you can adjust the volume, then get out of the car and close the doors to let the show begin. You can also get a custom song for the Light Show by following the steps above.
