By: Otaiba Ahsan
Most vehicles have a camera for the blind spot, as well as for when the car is in reverse. Tesla’s on the other hand are equipped with several cameras, which have a variety of functions such as their use for Autopilot. Dashcams have become a popular purchase for drivers in recent years, as they provide evidence to protect yourself in the event of a collision. An underrated benefit of Tesla ownership is that they come equipped with a built-in dashcam. Continue reading for steps on how to use the dashcam in your Tesla.
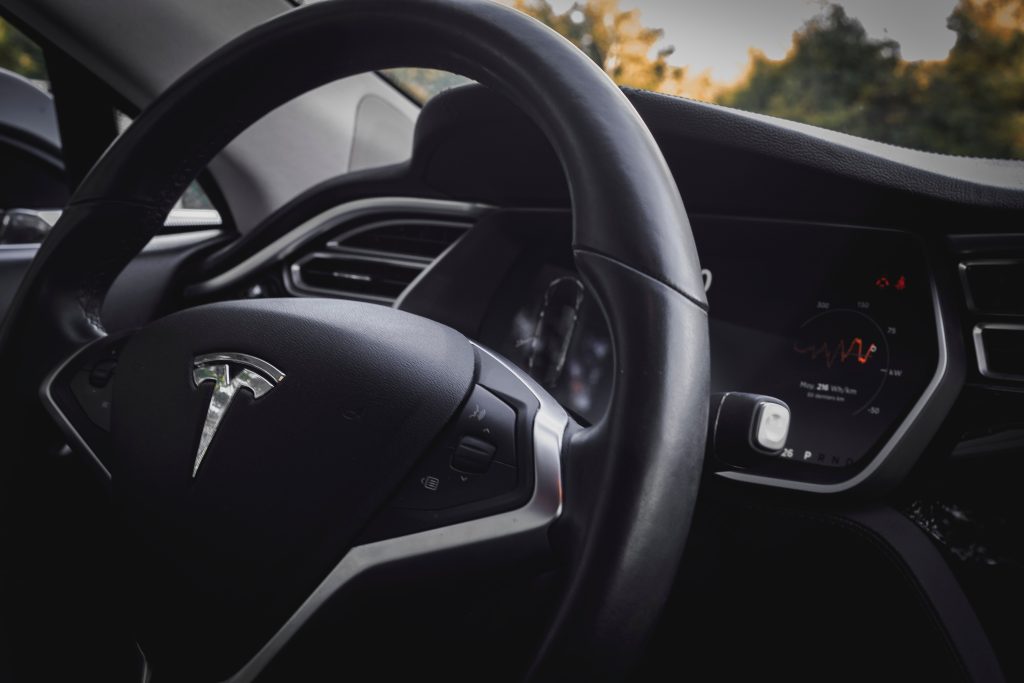
Dashcam
The dashcam records video footage of your vehicle’s surroundings when driving your Tesla. You can use it to record any incidents that occur while on the road, such as a collision or an object flying into your car. This is a critical feature to have, as it can come in handy in case you need to provide evidence to your insurance company, or in more serious cases, the authorities.
NOTE: Depending on the market region, vehicle configuration, options purchased and the software version, your Tesla may not be equipped with a dashcam.
The dashcam icon is located in the app launcher on the bottom of the screen, also known as the three dots. For reference, see what the icon looks like. When your Tesla is in Park, touch the icon to display the Viewer to see any saved videos.
IMPORTANT: To protect your privacy, video recordings are saved locally to a formatted USB flash drive’s onboard memory. Recordings aren’t sent to Tesla, and the vehicle won’t record videos when the dashcam is set to Off.
How to Use the Dashcam
There are two easy steps that should be followed to use your Tesla’s dashcam:
- Format a USB flash drive and insert it into the car’s glovebox USB port, which will retrieve and store footage. If your vehicle was manufactured in 2020 or later, it will already have a pre-formatted flash drive in the glove box. However, if it doesn’t have one then you can insert one into the USB port and tap Controls > Safety > Format USB Drive.
- Enable the dashcam by touching Controls > Safety > Dashcam. You can then choose from three settings. Auto enables the dashcam to automatically save a recording when your Tesla detects a safety-critical event, such as a collision or when airbags are deployed. Manual means you’ll have to manually touch the dashcam icon to save a recording of the most recent 10 minutes. Lastly, On Honk will enable the dashcam to save a recording of the most recent 10 minutes each time the horn is pressed.
Once your desired footage is saved, it can be viewed either on the touchscreen or later on a computer.
- Touchscreen: Ensure your Tesla is in Park, then tap the dashcam icon in the app launcher. You’ll find that the videos are organized by timestamp.
- Computer: Insert the flash drive into a computer and navigate to the TeslaCam folder. Videos will be organized by timestamp.
Lastly, to turn the dashcam off, touch Controls > Safety > Dashcam > Off.
The Bottom Line
The steps on how to use the dashcam in your Tesla are easy. First, format your USB flash drive by following the instructions above. If your vehicle is from 2020 or later, then it should already have one in the glovebox. Next, enable the dashcam by tapping Controls > Safety > Dashcam and then choose from one of the three settings. That’s all there is to it! Be sure to have this feature on, as it can be the difference maker in any safety-critical event.