By: Otaiba Ahsan

Electric vehicles (EVs) have gained immense popularity in recent years as the world moves towards a sustainable future. Tesla, the leading EV manufacturer, has taken the market by storm and is often the primary choice for those considering buying one. Something all potential buyers should ask themselves is, where do you charge your Tesla? Continue reading to see what your charging options are, potential costs and how to use them to their fullest potential.
Charging at Home
Not all Tesla owners are able to find a charging solution at home. However, if you are lucky enough to have a charging station at your residence, it’s certainly one of the best perks of EV ownership. Typically, home charging is set up in your property’s garage. However, if you live in an apartment or condo complex, you can request the building to put in EV chargers and in many cases, they can accommodate.
Charging at home is typically done in one of two ways. There’s level 1 charging, also known as “trickle charging,” due to its extremely low current. This is the most basic and slowest type of charging. It draws power from any 120 V outlet, the same outlets we plug our phone chargers in. The only benefit of trickle charging is that no installation is needed for this type of solution, as you can simply plug your mobile connector directly into the 120 V outlet and put your Tesla on charge. However, it’s not ideal for most due to the slow charge time.
Most Tesla owners who plug in at home typically use level 2 charging. Typically people get either the Tesla wall connector or use a NEMA 14-50 “dryer” outlet with their Tesla mobile connector, which requires a Gen 2 NEMA adapter. Both options provide great charging speeds and will need installation from an electrician. Tesla has a resource to find a “certified installer,” but in my experience, most electricians will have the expertise as EVs are becoming more common.
TIP: Charge to between 80% and 90% daily to avoid faster battery degradation, and make sure to only charge during off-peak hours to maximize savings on your energy bill. Open the Tesla app, hit “Charge Stats” then “Settings” which will allow you to add energy costs at different times. Once you’re set up, you’ll be able to see exactly how much your level 2 charging costs, and more importantly, how much you’re saving!
Cost of Home Charging Installation
The cost to install a level 2 charger varies depending on your area and how complicated the job is. For example, if your electrical breaker is on the main floor and close to the garage it should be a simpler task than if it’s in your basement. I’ve heard of installations ranging from as low as $250 all the way up to $1000+. Keep in mind, if you opt for the wall connector option, you’ll have to purchase the hardware and pay for installation. Whereas, if you go for the NEMA 14-50 outlet, you’ll only have to pay for an adapter plus installation.
TIP: Check your municipal, provincial and federal governing bodies for any rebates for home charging. Many places offer great options for getting home charging stations installed.
Superchargers
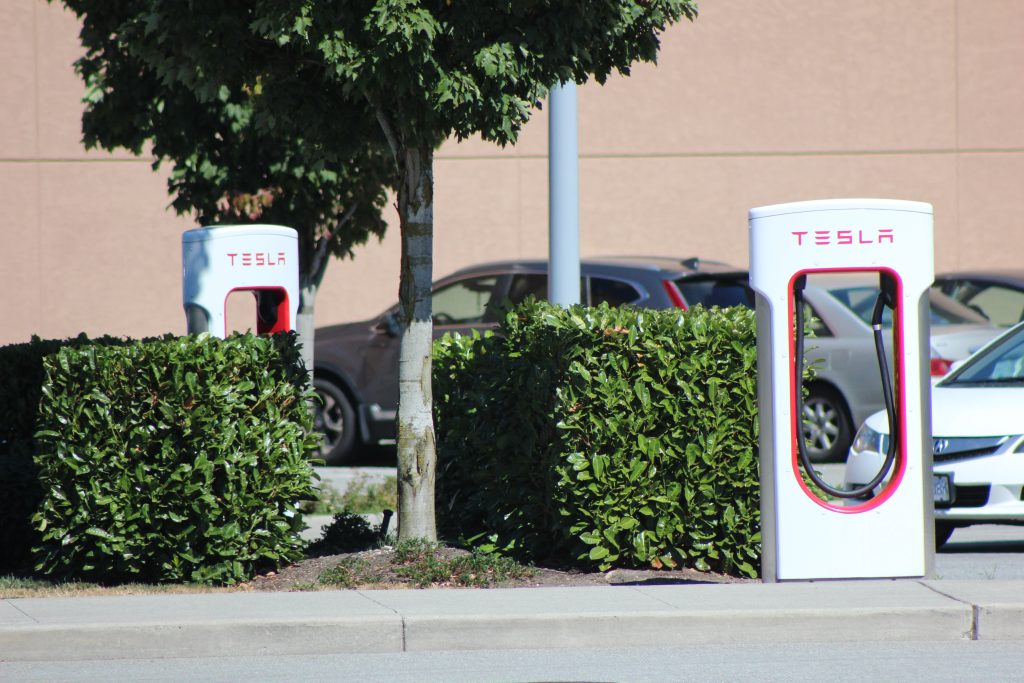
One of the biggest advantages of being a Tesla owner is having access to its vast network of superchargers. For a long time, these supercharging stations were exclusive to Tesla, but they’re now slowly being opened to other electric vehicles (EVs) as well. Superchargers are typically found directly off major highways and at other high-traffic areas like casinos, resorts, and more. This is the fastest way to charge your Tesla, as you can get your car’s battery up to 80% in under 30 minutes. Keep in mind that charging past 80% on superchargers becomes much slower to safeguard battery health.
Superchargers are classified as level 3 charging, also known as direct current (DC) fast charging and are a high-power charging method that allows your Tesla to be re-juiced at blazing speeds. Whenever possible, owners are billed per kilowatt-hour (kWh), however in other areas they are billed per minute. When billed per minute there are four tiers to account for changes in charging speeds.
TIP: When planning to supercharge, make sure to precondition your Tesla’s battery ahead of time. If your Tesla Maps knows you’re heading to a supercharger, it’ll begin preparing the battery for charge. You’ll see a little message notifying you. Once you get to the supercharger, try and snag a spot at a stall that doesn’t have another car charging at it, as you won’t have to share the energy source and you’ll get a faster charge.
Destination and Public Charging
These are third-party chargers located at places like hotels, restaurants, mall parking lots, and at other businesses. They typically provide slower charging times than superchargers but can be a convenient option if you’re going to be parked for an extended period. There are also some DC fast-charging public stations as well, which can be used with a CCS Combo 1 Adapter.
TIP: A resource I’ve personally found extremely handy is the Plugshare app and website, which can provide you with locations on destination chargers in your area. In many cases, it provides images of the chargers, the cost per kWh, how reliable they are and more.
The Bottom Line
Where do you charge your Tesla? The three most common options include home charging, Tesla supercharging, and destination or public stations. The key takeaway for everyone should be to find a solution that’s best suited for them. For me personally, level 2 home charging is the most convenient and cost-effective solution. However, if you’re always travelling, then you might have to rely on superchargers or destination chargers.
