By: Otaiba Ahsan
Tesla’s are commonly known for their incredible software and zippy acceleration. However, an underrated part of having one is the access to a plethora of apps. Whether it’s fun ones in the Tesla Toybox, or the Media apps for music, there’s something useful for everyone. If you find yourself using some more than others, then you’ll want to customize them on your touchscreen for easy access. Continue reading for steps on how to customize apps on your Tesla touchscreen.
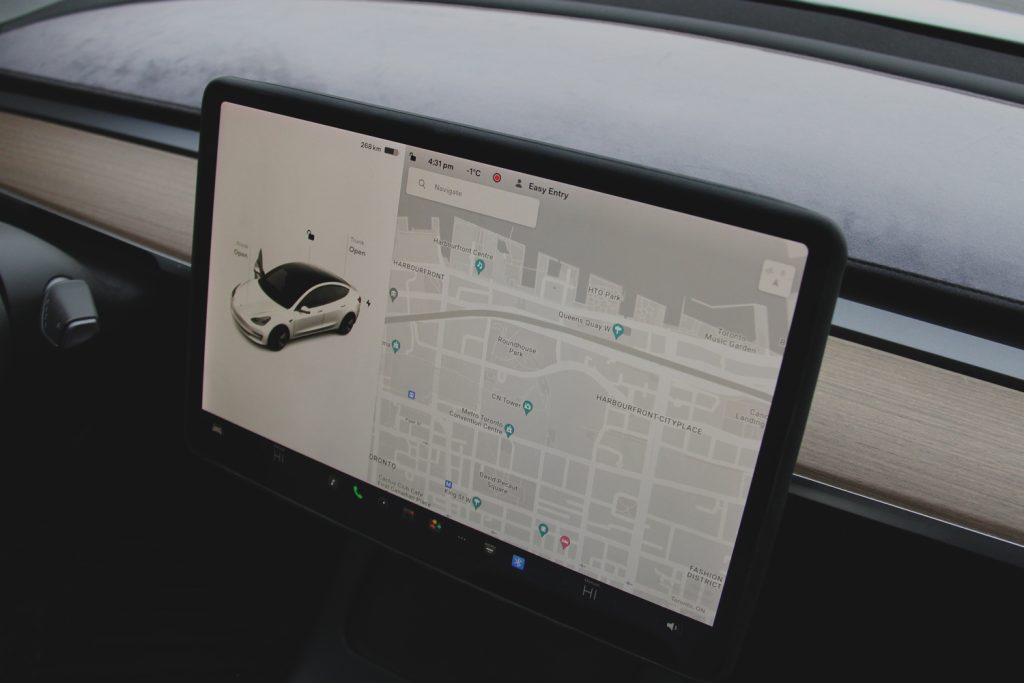
How to Customize Apps on the Touchscreen
When it comes to commonly used apps and controls, you’ll want them available for use with just a single touch. Lucky for you, Tesla has allowed its users to customize what displays in the My Apps area on the touchscreen’s bottom bar. This can be done in two simple steps:
- Enter customization mode by touching and holding any app along the bottom of the screen, similar to how you would on your phone. If this area is empty, tap the App Launcher, also known as the three dots, and touch and hold one of the apps there.
- Drag any app or control from the app tray onto the area along the bottom of the touchscreen.
NOTE: If you decide to add Seat Heaters as one of the controls, it won’t show in the typical spot where the other controls and apps are. Instead, it will migrate next to the Climate controls button.
When you’ve added the maximum number of apps or controls to the My Apps area, it will remove the rightmost app if you try to add more. Also, you can remove an app or control by hitting the X when in the customization mode.
Popular Apps Available for Your Tesla
Tesla has a lot of apps that help improve the overall ownership experience. Here are some of the most popular ones by category.
Video Apps:
- Netflix: You’ll need to have a paid subscription to Netflix already before you log in. Otherwise, enjoy the same interface you’re used to.
- Disney+: Once again, you’ll already need to be a paying Disney+ customer before you’re able to sign in.
- YouTube: Sign into your account and begin viewing whatever videos you’d like.
- Twitch: Lastly, you can sign into Twitch and watch your favourite streamers.
Media Apps:
- Radio: You can choose from a list of available radio stations or touch the numeric keypad to directly tune to a specific frequency. Also, touch the Next or Previous arrows to move from one frequency to the next.
- Bluetooth: You can play any type of audio from a Bluetooth-connected device. Whether it’s from one of your music streaming apps or a video from YouTube, most audio can be outputted when connected. See our guide on how to connect your device to the vehicle’s Bluetooth.
- Streaming: This is Tesla’s in-house audio streaming service. It can get the job done when it comes to streaming music, but its interface can be frustrating to deal with at times.
- Spotify: You can log in directly to your Spotify account and access all your playlists and other media. When you tap the app, follow the prompts to log in.
- Apple Music and Apple Podcasts: Both Apple’s Music and Podcast apps are available for your Tesla, and also have an easy login process.
The Bottom Line
The steps on how to customize apps on your Tesla touchscreen are straightforward. When in your car, enter customization mode by touching and holding any app along the bottom of the screen, similar to how you would on your phone. Next, drag any app or control from the app tray onto the area along the bottom of the touchscreen.